Using Geometry Nodes for VFX in Blender
Geometry nodes are a powerful way to procedurally generate many things inside of blender. I myself am just diving into the world of geometry nodes and so I wanted to share a workflow on how you can integrate this into a VFX workflow using Blender and Nuke.
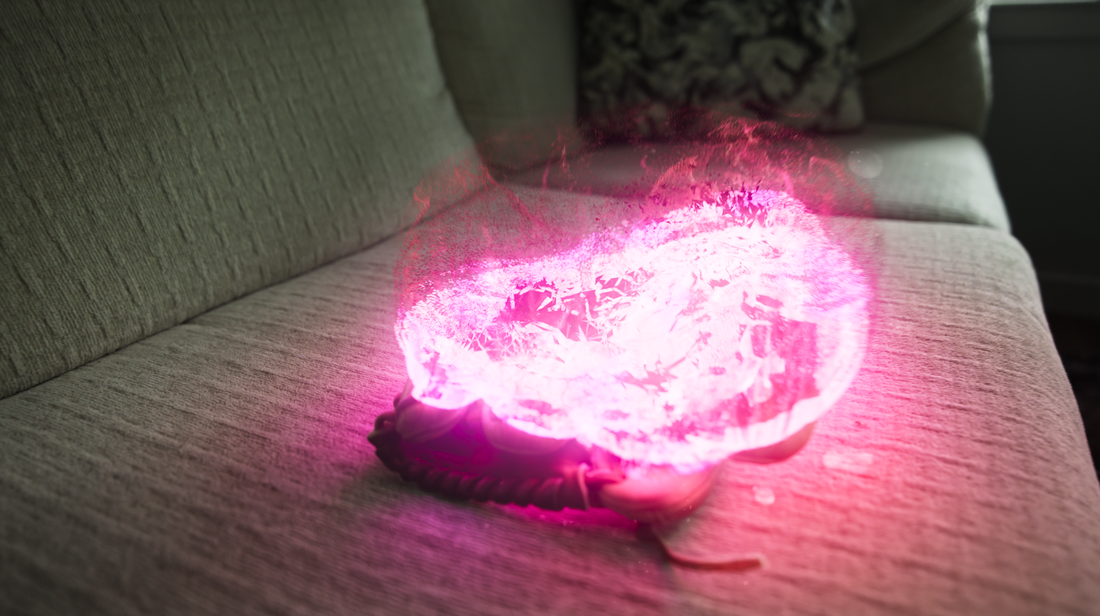
In this tutorial, I'll be taking our Glove 3D scanned asset on VFX Oasis and using that to add geometry nodes in Blender to make the Glove materialize from thin air. We'll be adding custom nodes to make the object shatter and then rebuild itself with a nice glow effect. I'll also be walking you through a multi-pass compositing workflow from Blender to Nuke so that we can using different layers into our composite. This is great for things like glow and shadow catchers.
Below you can find the video tutorial as well as the bundle where you can download all the assets you might need for a shot like this. Use code "oasis" for 100% off the bundle so you can start learning VFX from the comfort of your home today!
Download the Assets here: https://vfxoasis.com/products/geometry-nodes-vfx-tutorial-leraning-bundle
Hopefully you were able to follow along with the tutorial or learned something new along the way. This is just a taste of what geometry nodes can do in a VFX workflow and we are only scratching the surface. If you have anything you made using these assets or want to share your progress, join our discord community to share it with others and meet some amazing artists.
Anyways that's everything from this tutorial. As always thanks for using VFX Oasis and we look forward to see what you make!